Previously in years past onboarding features and tools were not included with Microsoft ERP and every Microsoft Partner had to come up with a way to manage this. A lot of times onboarding data was done through an Excel spreadsheet or a set of data ports created that the partner could reuse. Even with this, customers would have to have their data in the exact format created to have their data imported.
Now with onboarding features such as configuration packages you can go into Business Central and pick which columns of which data fields you want to include, pick which order these are going to be in, export your template, copy and paste your data and import it all right back into Business Central. There are even setup templates.
Let’s assume you have 50 vendors and made the choice to manually set up and key them in because you can manually clean up the data. Your Microsoft partner can setup a vendor template that fills in most of these fields for you and all that you’d need to fill in is the vendor name, address, contact, email, and phone number. Then all the posting groups, payment terms codes, payment methods, etc. would be filled in automatically for you. Kind of nice right? The fun doesn’t stop there though. There are a few other onboarding features of Business Central.
Onboarding Feature: Rapid Start Role Page
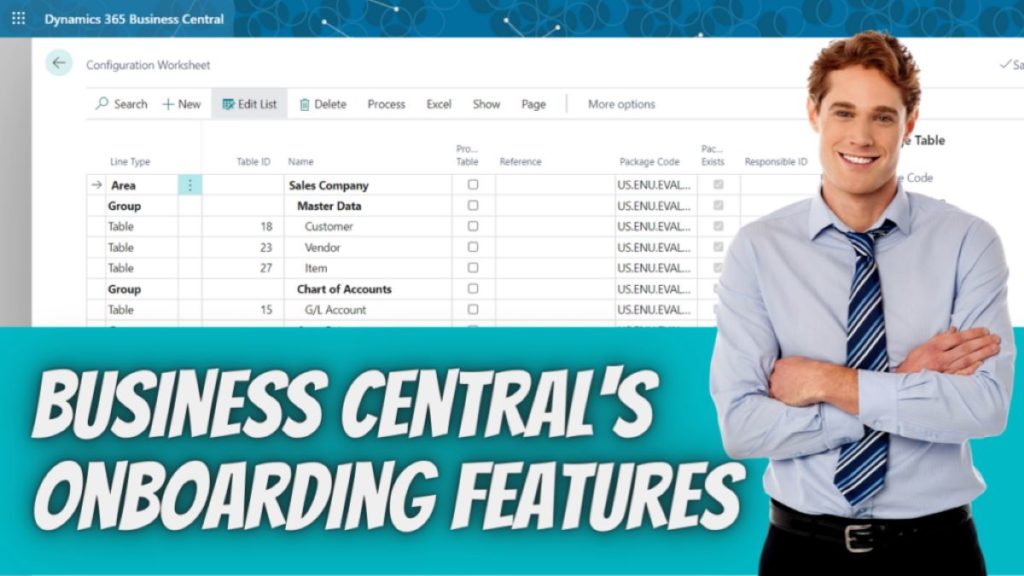
Did you know that there is a rapid start profile page that is designed for implementation? Some don’t know about this page but there’s a few things on this page are very helpful. Up on the top of the page on the ribbon you have a worksheet and this worksheet basically organizes your master data. For example, with master data you have customers, items, vendors, chart of accounts, setup tables, general ledger setups, sales and receivables setup, inventory setup, posting groups setup, sales tax setup, payment methods and payment terms setup and much more.
Within this worksheet you can edit and delete things that you might not be using, you can add things you are using, you can assign a responsible user to complete this worksheet and track its status. For example, let’s assume you delegate to a team member the set up of your posting groups. Within this worksheet statuses can be updated to be in progress, in completed, ignored, or blocked as well as who is responsible for it so you’ll never be out of the loop.
You also have access to the list of all the tables in the database and the number of records in there. There are packages, access to your configuration packages, import and export tools like Excel to migrate your data. This includes things like importing customers and importing vendor items.
Should rapid start be handled by the end user or should the partner be involved?
Is it possible? Yes. Is it likely? No. You might not need to be heavily reliant on your partner but you’ll definitely need them. For example, unless the rapid start role center is the default role center for a new user when set up, users most likely would not know that this role center exists. In fact, I’d recommend involving your partner for a lot of personalization efforts within Business Central.
Onboarding Feature: Welcome Banner
The welcome banners does exactly that, welcomes users to Business Central and provides a clear call to action with a checklist to start certain tasks to finish the last few setups of Business Central.
Cronus View (Evaluation Company)

Non-Evaluation Company View


On this welcome banner you’re going to see a checklist that can be customized through AL code to point records in the Guided Experience Item table to whatever it may be to help onboard users. For example, if you want to have a checklist item that reads listen to the latest episode of A Shot of Business Central and A Beer, you have to create a Learn record in the Guided Experience Item table that points to a URL. You can then go into the Checklist Administration Page add the new Guided Experience Type and checklist item.

Forgive me, if I’m a tad bit wrong explaining the developer part of this. I’m not a developer and most likely will never be a developer. So, what type checklist items can you have? You can have:
Guided Experience Types
- Assisted Setups
- Which help guide you through certain setups.
- Manual Setups
- Learn
- Point the checklist item to an external URL
- Tour
- Tours are the little blue boxes that highlight the specific elements on a page.
- For example, you might see a tour that tells you about Additional Setup for users. It’ll tell you that in this spot you can define when certain users can post transactions and that you can also designate time sheet roles or associate users with sales/purchaser codes.
- Currently, these can only be added by Microsoft but they’re considering giving AL developers control of these.
- Spotlight Tour
- Point to a type of tour that opens up a page in special mode and shines a spotlight on core capabilities such as Open in Excel or Share to Teams.
- Video
- Application Feature
- Enables a checklist task to open any page inside Business Central. Similar to Manual Setup this opens a page and will display a page tour if any is defined.
Teaching Tips
Microsoft has also incorporated teaching tips throughout Business Central that inform the user about the benefits of an action on a page. You’ll see these as little blue pop up boxes. For example, one might say, “Select the page title when you want to revisit the page’s teaching tip another time.”


